


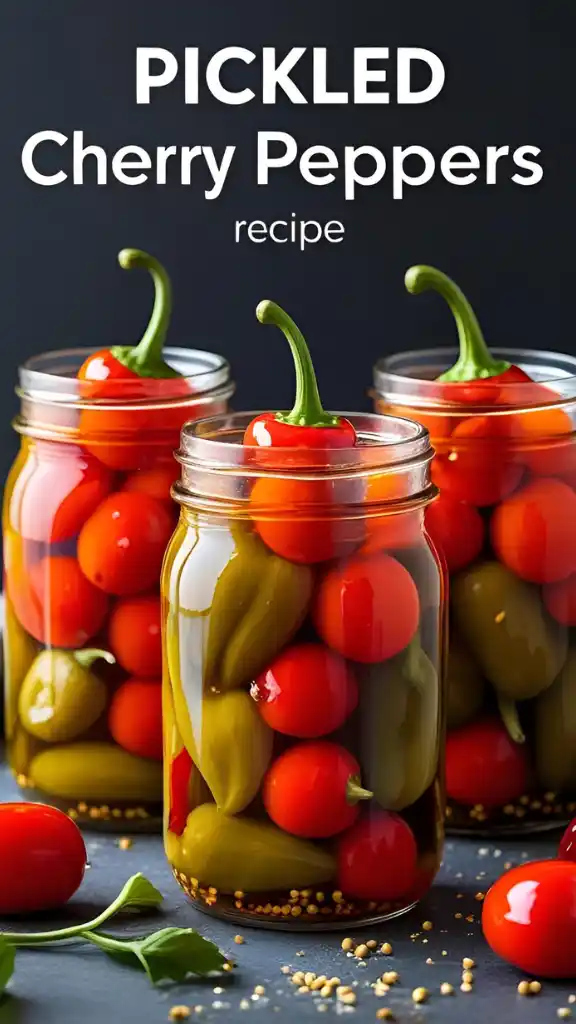
Pickled cherry peppers are one of those little gems that can completely transform a dish. Whether you’ve had them in a zesty sandwich or as a tangy side, their sweet-spicy punch adds so much character. I’ve always loved how they bring both a fiery kick and a touch of sweetness, creating the perfect balance for any meal. If you enjoy creative pickling ideas, you might also love trying out moonshine pickles for another bold and flavorful twist.
In this guide, we’ll dive into the world of cherry-pickled peppers—how to make them, what to use them for, and why they’re an easy yet exciting addition to your kitchen. Ready to spice up your cooking? Let’s get started!
What Makes Pickled Cherry Peppers So Special?
Pickled cherry peppers are a unique treat—small, round, and packed with flavor. These vibrant peppers are loved for their balance of heat and sweetness, which makes them so versatile in cooking. Whether they’re used as a topping on a pizza, tossed in a salad, or simply enjoyed as a snack, they never fail to bring excitement to the table.
The pickling process adds a tangy twist that enhances their natural taste, making them even more irresistible. But what really makes them special is the combination of their crunchy texture and bold, zesty bite. Simply put, cherry-pickled peppers are the type of ingredient that elevates any dish with minimal effort.
Ingredients for Pickled Cherry Peppers Recipe
To make your batch of pickled cherry peppers, you’ll need a few simple ingredients that come together to create the perfect balance of flavors. Here’s what you’ll need:
- 1 pound fresh cherry peppers (red or green, stems intact but trimmed)
- 2 cups white vinegar
- 1 cup water
- 2 tablespoons sugar
- 1 tablespoon kosher salt (or pickling salt)
- 4 garlic cloves, peeled and lightly smashed
- 1 teaspoon whole black peppercorns
- 1 teaspoon mustard seeds (optional)
- 1 teaspoon dried oregano (or Italian seasoning)
- 2 bay leaves
- Fresh herbs (such as parsley or basil, optional for extra flavor)
Equipment and Tools
Before you start pickling, you’ll need a few basic tools to make the process smooth and easy:
- Mason Jars
- Large Pot
- Funnel
- Tongs or Jar Lifter
- Clean Kitchen Towel
Cooking Time and Serving People
- Prep Time: 15 minutes
- Cook Time: 10 minutes
- Total Time: 25 minutes (plus 2-3 days for pickling)
- Servings: 3 People
How to Make Pickled Cherry Peppers Recipe
Now that you have all your ingredients, let’s dive into the simple steps to make these tangy, spicy, and flavorful pickled cherry peppers.
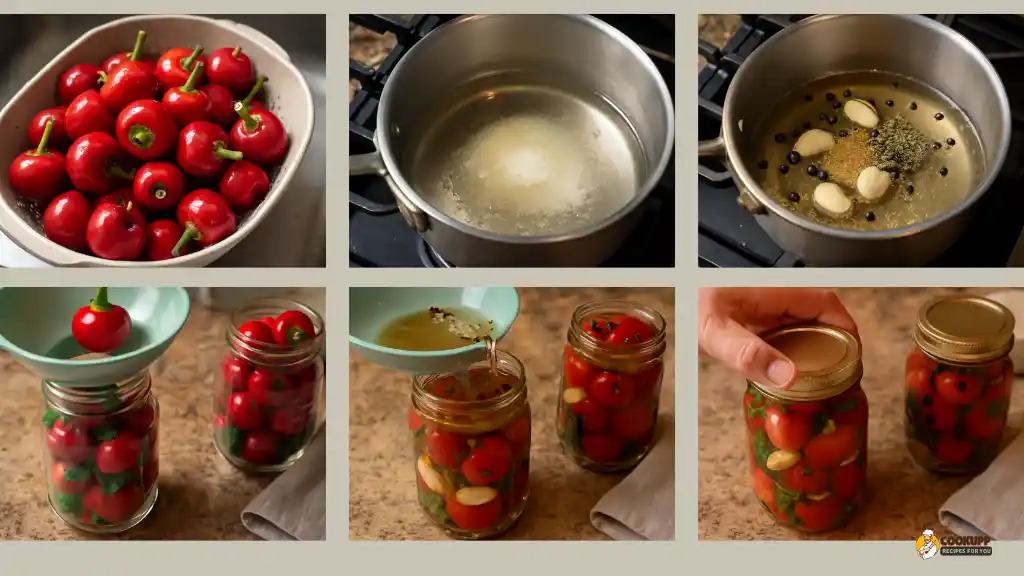
Step 1: Prepare the Peppers: Start by washing the cherry peppers thoroughly. Trim the stems but leave them intact. Use a small knife or skewer to prick a few holes in each pepper to help the brine soak in. This ensures the pickles develop the perfect texture and flavor.
Step 2: Prepare the Brine: In a large pot, combine the 2 cups of white vinegar, 1 cup of water, 2 tablespoons of sugar, and 1 tablespoon of kosher salt. Bring the mixture to a simmer over medium heat, stirring occasionally until the sugar and salt dissolve.
Step 3: Add the Spices: Once the brine is simmering, add the 4 garlic cloves, 1 teaspoon black peppercorns, 1 teaspoon mustard seeds, 1 teaspoon dried oregano, and 2 bay leaves. Stir the brine to mix the spices in, and let it simmer for another 5 minutes to infuse the flavors.
Step 4: Pack the Jars: While the brine is simmering, prepare your mason jars by sterilizing them. Place the prepared cherry peppers into the jars, packing them tightly but not crushing them. If you’re using fresh herbs like parsley or basil, you can add them to the jars for extra flavor.
Step 5: Pour the Brine: Carefully pour the hot brine over the peppers in the jars, making sure the peppers are fully submerged. Leave about ½ inch of space at the top of the jar to allow for expansion.
Step 6: Seal and Store: Once the jars are filled, seal them tightly with the lids. Let them cool to room temperature before transferring them to the refrigerator. For best results, allow the peppers to pickle for at least 2-3 days before eating. The longer they sit, the more intense the flavor will become.
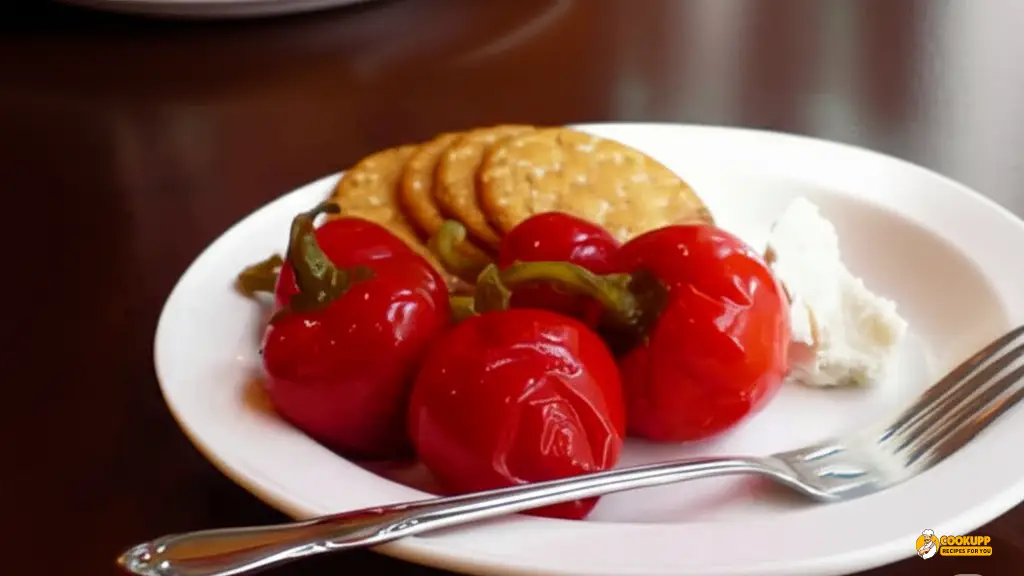
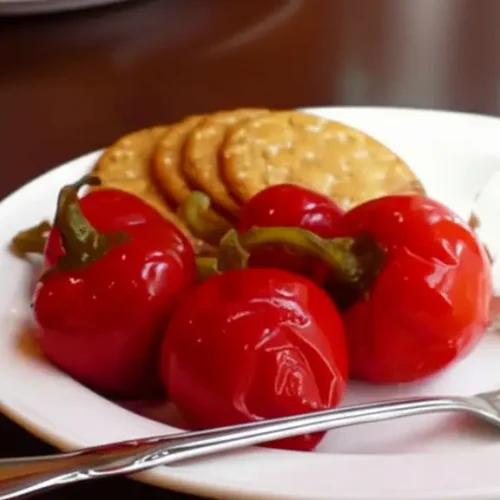
Step 7: Serve and Enjoy: After 2-3 days, your pickled cherry peppers will be ready to enjoy! Serve them as a topping on sandwiches, burgers, or tacos, or mix them into salads and pasta dishes for a zesty punch. You can even snack on them straight from the jar for a quick and flavorful treat. The possibilities are endless, so get creative and enjoy the bold flavors you’ve just made!
Creative Serving Ideas for Pickled Cherry Peppers Recipe
Once your Sweet pickled cherry peppers are ready, the fun begins! These tangy little gems are incredibly versatile, adding a burst of flavor to many dishes. Here are some creative ways to use them:
1. Toppings for Sandwiches and Burgers: Cherry pepper pickles make an excellent addition to sandwiches and burgers. Their sweet-spicy kick balances perfectly with meats like grilled chicken, beef patties, or even veggie burgers. For even more bold flavor, pair them with a drizzle of Ike’s Dirty Sauce.
2. Add to Salads: Slice or chop the pickled peppers and toss them into a fresh salad. Their tangy flavor pairs beautifully with leafy greens, juicy tomatoes, briny olives, and cheese like feta or mozzarella. For an even more flavorful combination, try pairing them with a drizzle of Texas Roadhouse Italian Salad Dressing.
3. Pizza and Pasta Dishes: Throw some cherry pepper pickles on top of a pizza or mix them into your pasta dishes. They add a zesty pop that perfectly complements the richness of cheese and sauce. For an extra boost of flavor, pair them with a homemade chimichurri pizza sauce.
4. Tasty Dips: Blend the Cherry pepper pickles into a spicy dip like salsa, guacamole, or a creamy dip for chips and crackers. You can even create a quick relish by chopping them finely and mixing with mustard or mayonnaise.
5. Snack on Their Own: Of course, you can always enjoy Cherry pepper pickles straight from the jar! Their crunchy texture and bold flavor make them a satisfying snack whenever you’re craving something tangy and spicy.
Cookupp Community Tips for Pickled Cherry Peppers Recipe
The Cookupp community loves experimenting with pickled cherry peppers, and we’ve gathered a few tips from seasoned picklers to make your batch even better!
1. Adjust the Spice Level: If you like things a little less fiery, consider using milder peppers or removing the seeds before pickling. For an extra spicy punch, add a few whole hot peppers or red pepper flakes to the brine.
2. Double Up on Flavor: If you’re a fan of garlic, don’t hesitate to add a few extra cloves to your brine. You can even try roasting the garlic before adding it for a sweeter, richer flavor.
3. Infuse with Fresh Herbs: Adding fresh herbs like basil, rosemary, or thyme can give your pickled cherry peppers an aromatic boost. You can toss them into the jar along with the peppers, or steep them in the brine for a few minutes before pouring it over the peppers.
4. Don’t Rush the Process: The key to delicious Cherry pepper pickles is patience. While you can technically eat them after 2-3 days, they’ll continue to develop deeper, more complex flavors the longer they sit. If you can resist, wait at least a week for the best results!
5. Make Extra: Cherry pepper pickles can last for a long time if stored properly. Why not make a bigger batch? Share jars with friends or keep them as a staple in your fridge for weeks of enjoyment.
These tips from fellow pickling enthusiasts will help you perfect your recipe, ensuring that every jar is packed with flavor. Whether you’re a first-timer or a seasoned pro, it’s always fun to experiment and find your perfect pickle!
Different Variations of Pickled Cherry Peppers Recipe
Once you’ve mastered the basic pickled cherry pepper recipe, it’s time to get creative! Here are some fun variations you can try to add different flavors to your peppers:
1. Sweet: If you love a sweeter kick, increase the sugar in the brine to 3 tablespoons or more. This will give your peppers a sweet-and-sour balance that’s perfect for adding to sandwiches, salads, or even as a side dish to savory meals.
2. Garlic-Infused: Garlic lovers, this one’s for you! Add an extra couple of cloves of garlic to the brine, or even roast them before adding them to the jars. Roasted garlic adds a mellow, rich flavor that pairs beautifully with the tang of the pickled peppers.
3. Spicy: If you want more heat, try adding a couple of sliced jalapeños, chili flakes, or even a small Thai bird’s eye pepper to the jar. The peppers will infuse their heat into the brine, creating a zesty, fiery pickle that adds a serious punch to any dish. For another spicy kick, you might also enjoy this Gyu-Kaku Spicy Cucumber recipe.
4. Herb-Infused: Add a few sprigs of fresh herbs like rosemary, thyme, or even tarragon to your jar. These herbs will infuse the brine, giving your pickled cherry peppers a fresh, aromatic kick that’s perfect for Mediterranean-style dishes.
5. Citrus Zing: For a twist, try adding the zest of an orange or lemon to the brine. This adds a refreshing citrus flavor that complements the tangy vinegar and spicy peppers perfectly. You could even add a couple of slices of citrus to the jars for extra flavor.
How to Store Leftover Pickled Cherry Peppers Recipe
Once you’ve made your homemade pickled peppers, you’ll want to store them properly to keep them fresh and flavorful. Here’s how to do it:
- Refrigeration: After sealing the jars, make sure to store them in the refrigerator. The cold helps preserve the pickled peppers and keeps them at their best for longer.
- Shelf Life: Pickled peppers can last in the fridge for up to 2-3 months. The flavors will improve over time, so don’t be afraid to let them sit for a bit before digging in.
- Check for Spoilage: While pickled peppers are fairly shelf-stable, always check for signs of spoilage. If the brine looks cloudy, there’s an off smell, or the peppers become mushy, it’s time to discard them.
- Store in Glass Jars: Always use glass jars for storage. They help preserve the flavor and allow you to easily see the peppers, ensuring they stay submerged in the brine to prevent mold growth.
Pickled Cherry Peppers Recipe
Equipment
- Mason Jars
- Large pot
- Funnel
- Tongs or Jar Lifter
- Clean Kitchen Towel
Ingredients
- 1 pound fresh cherry peppers red or green, stems intact but trimmed
- 2 cups white vinegar
- 1 cup water
- 2 tablespoons sugar
- 1 tablespoon kosher salt or pickling salt
- 4 garlic cloves peeled and lightly smashed
- 1 teaspoon whole black peppercorns
- 1 teaspoon mustard seeds optional
- 1 teaspoon dried oregano or Italian seasoning
- 2 bay leaves
- Fresh herbs such as parsley or basil, optional for extra flavor
Instructions
- Prepare the Peppers: Wash the cherry peppers and trim the stems. Poke a few small holes in each pepper.
- Make the Brine: In a large pot, combine vinegar, water, sugar, and salt. Bring to a simmer, stirring until sugar and salt dissolve.
- Add Spices: Add garlic, peppercorns, mustard seeds, oregano, and bay leaves to the brine. Simmer for 5 minutes.
- Pack the Jars: Sterilize your jars. Pack the peppers into jars, adding fresh herbs if using.
- Pour the Brine: Pour the hot brine over the peppers, leaving about ½ inch of space at the top.
- Seal & Store: Seal the jars tightly. Let cool, then refrigerate for at least 2-3 days before eating.
- Serve & Enjoy: Enjoy your pickled cherry peppers as a topping, in salads, or as a snack!
Video
Notes
- The pickling process takes about 2-3 days for the flavors to develop, but the longer they sit, the more flavorful they become.
- Feel free to adjust the sweetness or spice level by adding more sugar or hot peppers.
- Store in the refrigerator for up to 2-3 months for the best freshness.
FAQs about Pickled Cherry Peppers Recipe
What Are Pickled Cherry Peppers?
Pickled cherry peppers are small, round peppers preserved in vinegar, salt, and sugar. They offer a mix of tangy, sweet, and spicy flavors. These peppers are great for adding a zesty kick to a variety of dishes like sandwiches, burgers, and salads.
What Is a Good Substitute for Pickled Cherry Peppers?
If you can’t find Cherry pepper pickles, try pickled banana peppers or pickled jalapeños. Both are tangy and slightly spicy, but banana peppers are milder, while jalapeños bring more heat. They’ll work well in most recipes calling for pickled cherry peppers.
What Do Pickled Peppers Taste Like?
Pickled cherry peppers have a tangy, sweet, and slightly spicy flavor. The vinegar gives them a sharpness, while the sugar balances the heat. The peppers themselves add a crunchy texture, making them a tasty, bold addition to a variety of dishes.
Are Cherry Peppers Sweet or Spicy?
Cherry peppers can be both sweet and spicy, depending on the variety. When pickled, they usually offer a balance of mild heat with a hint of sweetness, making them versatile in both savory and sweet dishes. Some may have more heat than others.
What Is Another Name for Cherry Pepper?
Cherry peppers are also called “pimentos” or “pimento peppers.” While the term “pimento” often refers to a sweet variety, cherry peppers can be both sweet and hot. The name varies based on the region or the specific type of pepper.
What to Use Pickled Cherry Peppers For?
Cherry pepper pickles are great for adding a zesty kick to many dishes. Use them on sandwiches, burgers, and tacos, or chop them into salads, pasta dishes, or salsas. You can also snack on them directly from the jar for a tangy treat.
Can I Eat Cherry Peppers Raw?
Yes, you can eat cherry peppers raw! They’re often used fresh in salads, dips, and salsas. Keep in mind that raw cherry peppers can be spicy, so check the heat level before using them, especially if you’re sensitive to heat.
Do Pickled Cherry Peppers Go Bad?
Pickled cherry peppers can last for weeks in the fridge. However, if the brine becomes cloudy or you notice an off smell, it’s time to discard them. Always check for signs of spoilage to ensure freshness before consuming.
Are Pickled Red Peppers Healthy?
Yes, pickled red peppers are healthy! They’re low in calories and rich in vitamins A and C. The capsaicin in peppers may also help with metabolism and reduce inflammation, making them a nutritious snack or topping for many dishes.
Can You Pickle Peppers with Apple Cider Vinegar?
Yes, apple cider vinegar can be used for pickling! It adds a slightly fruity, tangy flavor to the brine, offering a unique twist to the usual pickled pepper taste. It’s a great alternative to white vinegar for a more complex flavor profile.
Conclusion
Pickled cherry peppers are a delicious, easy-to-make addition to any kitchen. With their perfect balance of sweet, tangy, and spicy flavors, they can elevate a variety of dishes, from sandwiches to salads. Whether you’re a beginner or a seasoned cook, making your pickled peppers at home is simple and rewarding. So, gather your ingredients, experiment with the recipe, and enjoy the bold flavors you’ve created. Ready to give it a try?
Have questions or feedback? We’d love to hear from you! Don’t forget to follow Cookupp on Pinterest for a delicious mix of inspiring recipes you’ll want to try again and again!


These pickled cherry peppers turned out amazing! Perfect balance of sweet and spicy.
Thanks Hannah! Glad you loved the flavor mix—it’s one of our favorites too.
Super easy recipe to follow. I’ll be making another batch soon!
Happy to hear that, Grace! A second batch means success.
Used these on my homemade pizza—absolutely delicious!
Yesses Alexis! They really do take pizza night to the next level.
Loved adding jalapeños for extra heat. Came out just right!
Great idea, Laura! That extra kick makes them even better.