

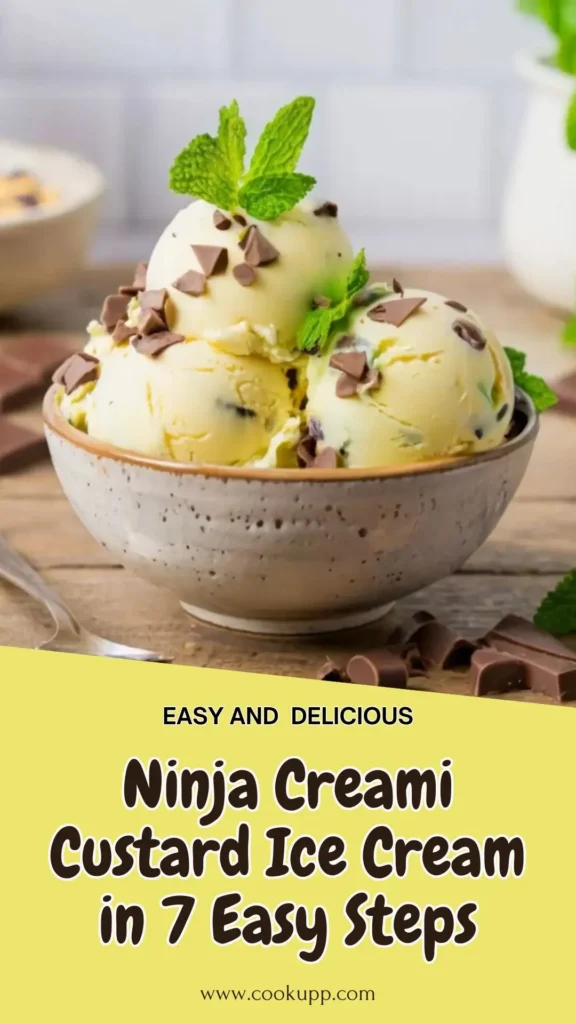
If you’ve ever craved the smooth, creamy goodness of Ninja Creami custard ice cream, you know it’s a treat like no other. The rich, velvety texture and comforting sweetness are a nostalgic indulgence, especially when made at home.
With this Ninja Creami custard recipe, you can skip the store-bought stuff and craft your own delicious frozen custard right in your kitchen. Trust me, it’s easier than you think-and it will completely change how you look at homemade ice cream.
For another creamy favorite, check out this Chick-fil-A ice cream recipe. So, let’s dive in and explore this simple recipe that’s bound to become a new favorite!
What is Custard Ice Cream?
Custard ice cream is more than just a dessert-it’s an experience. Unlike regular ice cream, which is typically made from a milk and cream base, Ninja Creami custard ice cream includes egg yolks, making it richer, smoother, and more luxurious.
The egg yolks give the ice cream a custard-like texture, providing that creamy, melt-in-your-mouth feel that’s hard to beat. It’s the perfect balance of sweet and creamy, with an almost silky consistency.
If you’ve ever tried frozen custard from a local shop, you’ve tasted the magic of eggs in ice cream-now you can recreate that in your own kitchen with the Ninja Creami!
Ingredients for Ninja Creami Custard Ice Cream Recipe
To make this luscious Ninja Creami custard ice cream, you don’t need anything too fancy, just a few simple ingredients. Here’s what you’ll need to bring that creamy, dreamy texture to life:
- 2 cups heavy cream
- 1 cup whole milk
- ⅔ Cup granulated sugar
- Pinch of salt
- 6 large egg yolks
- 1 tablespoon vanilla extract
- 2 teaspoons vanilla bean paste
Equipment and Tools
Before diving into making your Ninja Creami custard ice cream, let’s quickly go over the tools you’ll need. Don’t worry; it’s nothing too complicated!
- Ninja Creamy Machine
- Saucepan
- Whisk & Mixing Bowls
- Fine Mesh Strainer
Cooking Time and Serving People
Making Ninja Creami custard ice cream is easy and fun, and here’s what you can expect for the timing:
- Preparation: 10 minutes
- Cooking: 10 minutes
- Cooling: 30 minutes
- Freezing Time: 12 hours (in the Ninja Creami container)
- Total Time: 4 hours (including freezing and processing time)
- Servings: 4 People
How to Make Frozen Custard Cream Ice Cream Recipe
Now that you’ve got all your ingredients and equipment ready, let’s dive into the fun part: making your Ninja Creami custard ice cream Recipe! Follow these simple steps for a creamy, smooth treat.
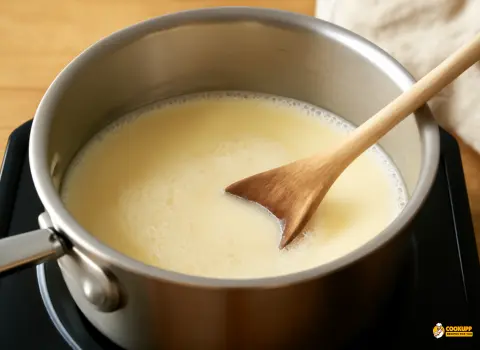
Step 1: Preparing the Base Mixture: In a medium saucepan, combine the heavy cream, whole milk, sugar, and a pinch of salt. Heat the mixture over medium-low heat, stirring occasionally until the sugar dissolves, about 3-5 minutes. Be careful not to let it boil!
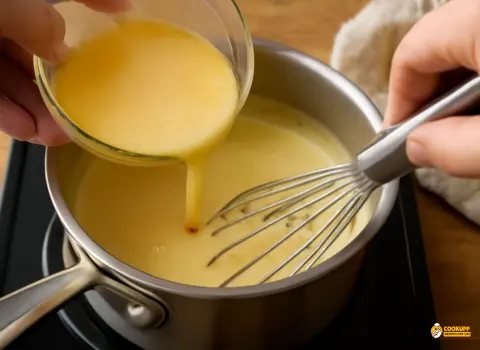
Step 2: Tempering the Eggs: While your cream mixture heats up, whisk the egg yolks in a separate bowl until smooth. Gradually add about 1/2 cup of the warm cream mixture to the eggs, whisking constantly. This step is called “tempering,” which prevents the eggs from cooking too fast and scrambling.

Step 3: Combining Mixtures and Adding Vanilla: Slowly pour the tempered egg mixture back into the saucepan with the remaining cream mixture. Stir it all together and cook for another 3-5 minutes until the mixture thickens enough to coat the back of a spoon. Remove from heat and whisk in vanilla extract and vanilla bean paste.
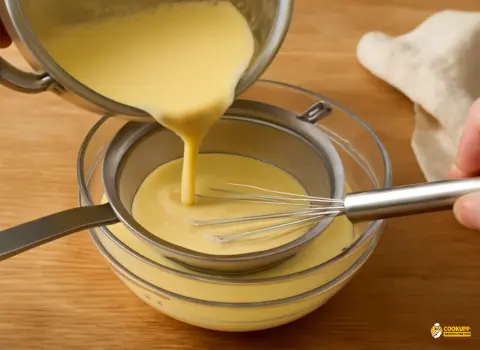
Step 4: Straining the Mixture: To ensure your custard is silky smooth, strain it through a fine mesh strainer into a clean bowl to remove any lumps or cooked egg bits.
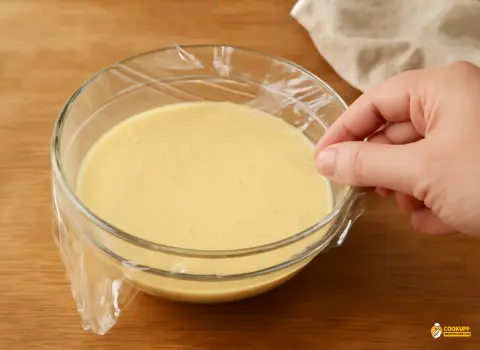
Step 5: Cooling and Refrigerating: Let the custard cool to room temperature (about 30 minutes), then cover and refrigerate for at least 3-4 hours, or overnight for best results.
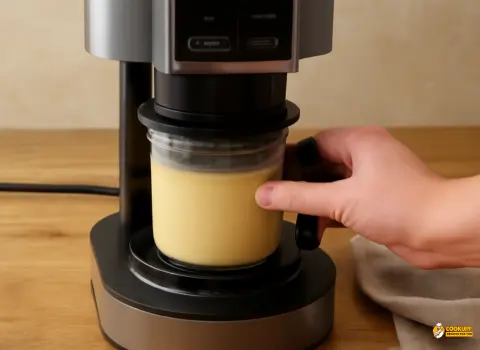
Step 6: Freezing and Processing in Ninja Creami: Once your custard is chilled, pour it into the Ninja Creami pint container and freeze for 12-24 hours. When ready, process the custard in the Ninja Creami on the Ice Cream setting. If the texture isn’t smooth enough, use the Respin setting to achieve the perfect creaminess.
Tips and tricks for making homemade ice cream and frozen custard
To make sure your Ninja Creami custard ice cream turns out perfect every time, here are a few tips to keep in mind:
1. Use Fresh Eggs: Fresh egg yolks will give you the best texture and flavor. Older eggs may affect the creaminess.
2. Don’t Rush the Cooling: Letting the custard cool completely before refrigerating helps it thicken properly. Don’t skip this step-it’s essential for that smooth consistency.

3. Ensure the Custard is Fully Chilled: For the best results in the Ninja Creami, make sure the custard is chilled for several hours or overnight. The colder it is, the smoother it will freeze.
4. Check for Lumps: Straining your custard is key to a silky texture. Don’t skip the fine mesh strainer-it catches any bits of cooked egg or impurities.
5. Experiment with Flavors: Feel free to get creative! Add chocolate chips, fruit, or even a swirl of caramel or fudge to the custard mixture before freezing to personalize your ice cream.
Serving Ideas for Your Ninja Creami Custard Ice Cream
Once your Ninja Creami custard ice cream is ready, it’s time to serve it up in style! Here are some fun and creative serving ideas to elevate your homemade treat:
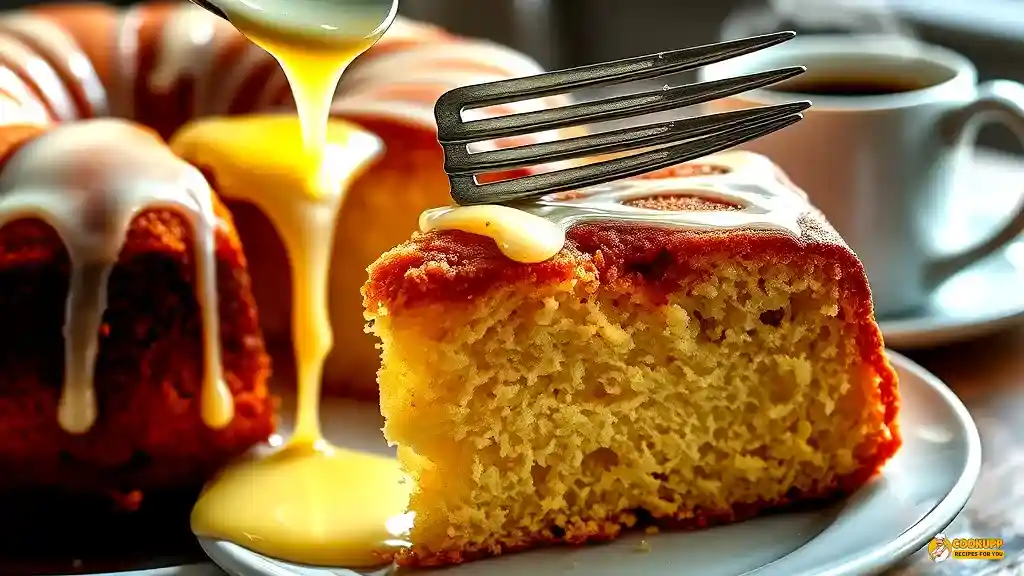
1. Creative Toppings: Elevate your custard ice cream with toppings like fresh berries, chocolate chips, or caramel drizzle. Add crushed cookies, nuts, or cinnamon for a fun twist. For a decadent combo, enjoy it alongside this rich chocolate lava cake-pure dessert perfection!
2. Pairing with Desserts: Serve your frozen custard alongside a warm slice of pie, a brownie, or a piece of cake. It’s the perfect complement to rich, baked desserts.
3. Ice Cream Sundae: Create a fun sundae by layering your custard ice cream with chocolate syrup, whipped cream, and a cherry on top. Get creative with different toppings for a personalized treat!

4. Serving in Cones: For a classic, fun presentation, serve your ninja creami custard in waffle cones. You can even dip the edges of the cones in chocolate and roll them in crushed nuts for added crunch.
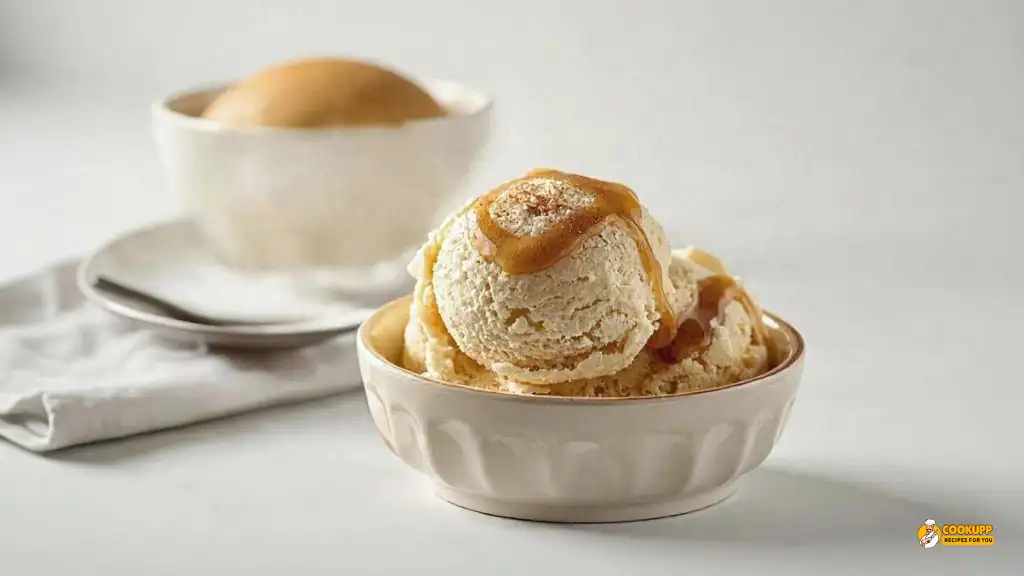
5. Presentation Tips: Use elegant bowls or mason jars for a rustic feel. A simple garnish of mint leaves or a sprinkle of shaved chocolate can make the ice cream look even more appealing.
Why Choose Ninja Creami for Your Custard Ice Cream Recipe
If you’re still wondering why the Ninja Creami is the go-to tool for making your custard ice cream, here’s why it stands out:
1. Effortless Creaminess: The Ninja Creami is designed to turn your custard mixture into perfectly smooth, creamy ice cream every time. Unlike traditional ice cream makers that can be tricky and time-consuming, the Ninja Creami simplifies the process with just a few easy steps.
2. Quick & Convenient: In just 4-5 hours (including freezing and processing), you can go from ingredients to a bowl of delicious frozen custard. It’s fast enough for a last-minute treat but also works perfectly when you plan.
3. Consistent Results: Whether you’re making a simple vanilla custard or experimenting with different flavors, the Ninja Creami ensures consistent, restaurant-quality results every time. No more worrying about icy textures or uneven freezing.
4. All-in-One Machine: It’s a versatile tool that’s not limited to just ice cream. You can also make sorbets, gelato, and other frozen treats with ease. The Ninja Creami is a true kitchen multitasker that makes frozen desserts fun and simple.
5. Ideal for Beginners: If you’re new to making custard or ice cream, the Ninja Creami takes away the guesswork. Its easy-to-follow process makes it a perfect choice for anyone looking to make custard ice cream at home without hassle.
Ninja Creami Custard Recipe
Ingredients
- 2 cups heavy cream
- 1 cup whole milk
- ⅔ cup granulated sugar
- Pinch of salt
- 6 large egg yolks
- 1 tablespoon vanilla extract
- 2 teaspoons vanilla bean paste
Instructions
- Preparing the Base Mixture: In a medium saucepan, combine the heavy cream, whole milk, sugar, and pinch of salt. Heat the mixture over medium-low heat, stirring occasionally until the sugar dissolves, about 3-5 minutes. Be careful not to let it boil!
- Tempering the Eggs: While your cream mixture heats up, whisk the egg yolks in a separate bowl until smooth. Gradually add about 1/2 cup of the warm cream mixture to the eggs, whisking constantly. This step is called "tempering," which prevents the eggs from cooking too fast and scrambling.
- Combining Mixtures and Adding Vanilla: Slowly pour the tempered egg mixture back into the saucepan with the remaining cream mixture. Stir it all together and cook for another 3-5 minutes until the mixture thickens enough to coat the back of a spoon. Remove from heat and whisk in vanilla extract and vanilla bean paste.
- Straining the Mixture: To ensure your custard is silky smooth, strain it through a fine mesh strainer into a clean bowl to remove any lumps or cooked egg bits.
- Cooling and Refrigerating: Let the custard cool to room temperature (about 30 minutes), then cover and refrigerate for at least 3-4 hours, or overnight for best results.
- Freezing and Processing in Ninja Creami: Once your custard is chilled, pour it into the Ninja Creami pint container and freeze for 12-24 hours. When ready, process the custard in the Ninja Creami on the Ice Cream setting. If the texture isn’t smooth enough, use the "Respin" setting to achieve the perfect creaminess.
Video
Notes
- For best results, ensure the custard is fully chilled before freezing.
- You can substitute the vanilla extract with other extracts (like almond or mint) to experiment with different flavors.
- Store leftover custard ice cream in an airtight container in the freezer for up to 1-2 weeks.
- The recipe is customizable—add chocolate chips, fruit, or nuts to the custard base before freezing.
FAQs about the ice Cream Custard Recipe
If you’ve got any questions or concerns about making Ninja Creami Custard Recipe, here’s a quick FAQ to help guide you:
Can you put custard in the Ninja Creami?
Yes, you can put custard in the Ninja Creami. Simply freeze the custard mixture in the Ninja Creami container for 12-24 hours before processing. The Ninja Creami will transform it into a smooth, creamy ice cream-like texture.
What not to put in Ninja Creami?
Avoid putting anything too hard or chunky, like large frozen fruits, nuts, or candy. These items may clog the machine or disrupt the smooth texture. Stick to liquids or soft ingredients for the best results.
Is Ninja Creami discontinued?
No, the Ninja Creami is not discontinued. It continues to be a popular product, widely available online and in stores. Always check for the latest models and upgrades for better features.
What fruits can you not use in a Ninja Creami?
Avoid using watery fruits like watermelon, as they can affect the texture of your frozen treat. Hard fruits, such as apples or pears, may not blend well either and can cause the machine to strain.
Which is healthier, custard or ice cream?
Custard generally has more calories and fat due to the use of egg yolks, making it richer than regular ice cream. However, both can be enjoyed in moderation. The main difference lies in the richness and texture rather than the health benefits.
Why does custard not freeze?
Custard may not freeze properly if it’s not cooked to the right consistency or if the mixture isn’t chilled thoroughly before freezing. Always ensure your custard is completely cooled and properly frozen before processing in the Ninja Creami.
Can you mix custard with whipped cream?
Yes, mixing custard with whipped cream is a delicious idea! It creates a lighter, fluffier texture, perfect for adding richness to desserts. Just make sure to fold the whipped cream in gently to preserve its airy consistency.
Can you make crème brûlée with ready-made?
Yes, you can make crème brûlée using ready-made custard, but the flavor and texture won’t be as rich as making it from scratch. However, it’s a quicker option if you’re short on time and still want to enjoy this classic dessert.
How many calories are in this Ninja Creami?
The number of calories in your Ninja Creami depends on the ingredients used. For example, a basic vanilla custard ice cream recipe made with heavy cream and egg yolks may contain around 250-350 calories per serving. Be sure to check the specific ingredients for a more accurate count.
How Do I Store Frozen Custard?
Store your homemade frozen custard in an airtight container in the freezer for up to 1-2 weeks. Make sure it’s fully sealed to prevent freezer burn. For the best texture, allow it to soften slightly before serving.
Making Ninja Creami custard ice cream is a fun and rewarding process that brings rich, creamy treats straight to your kitchen. Whether you’re experimenting with flavors or sticking to the classic vanilla custard, the Ninja Creami makes the entire process smooth and hassle-free.
With simple ingredients, easy steps, and a little patience, you can enjoy a luxurious homemade frozen custard in just a few hours. So, why not give it a try and treat yourself to the best ice cream experience right at home?
Be sure to like and follow us on Pinterest and YouTube for the latest updates – we always appreciate your thoughts and support!